
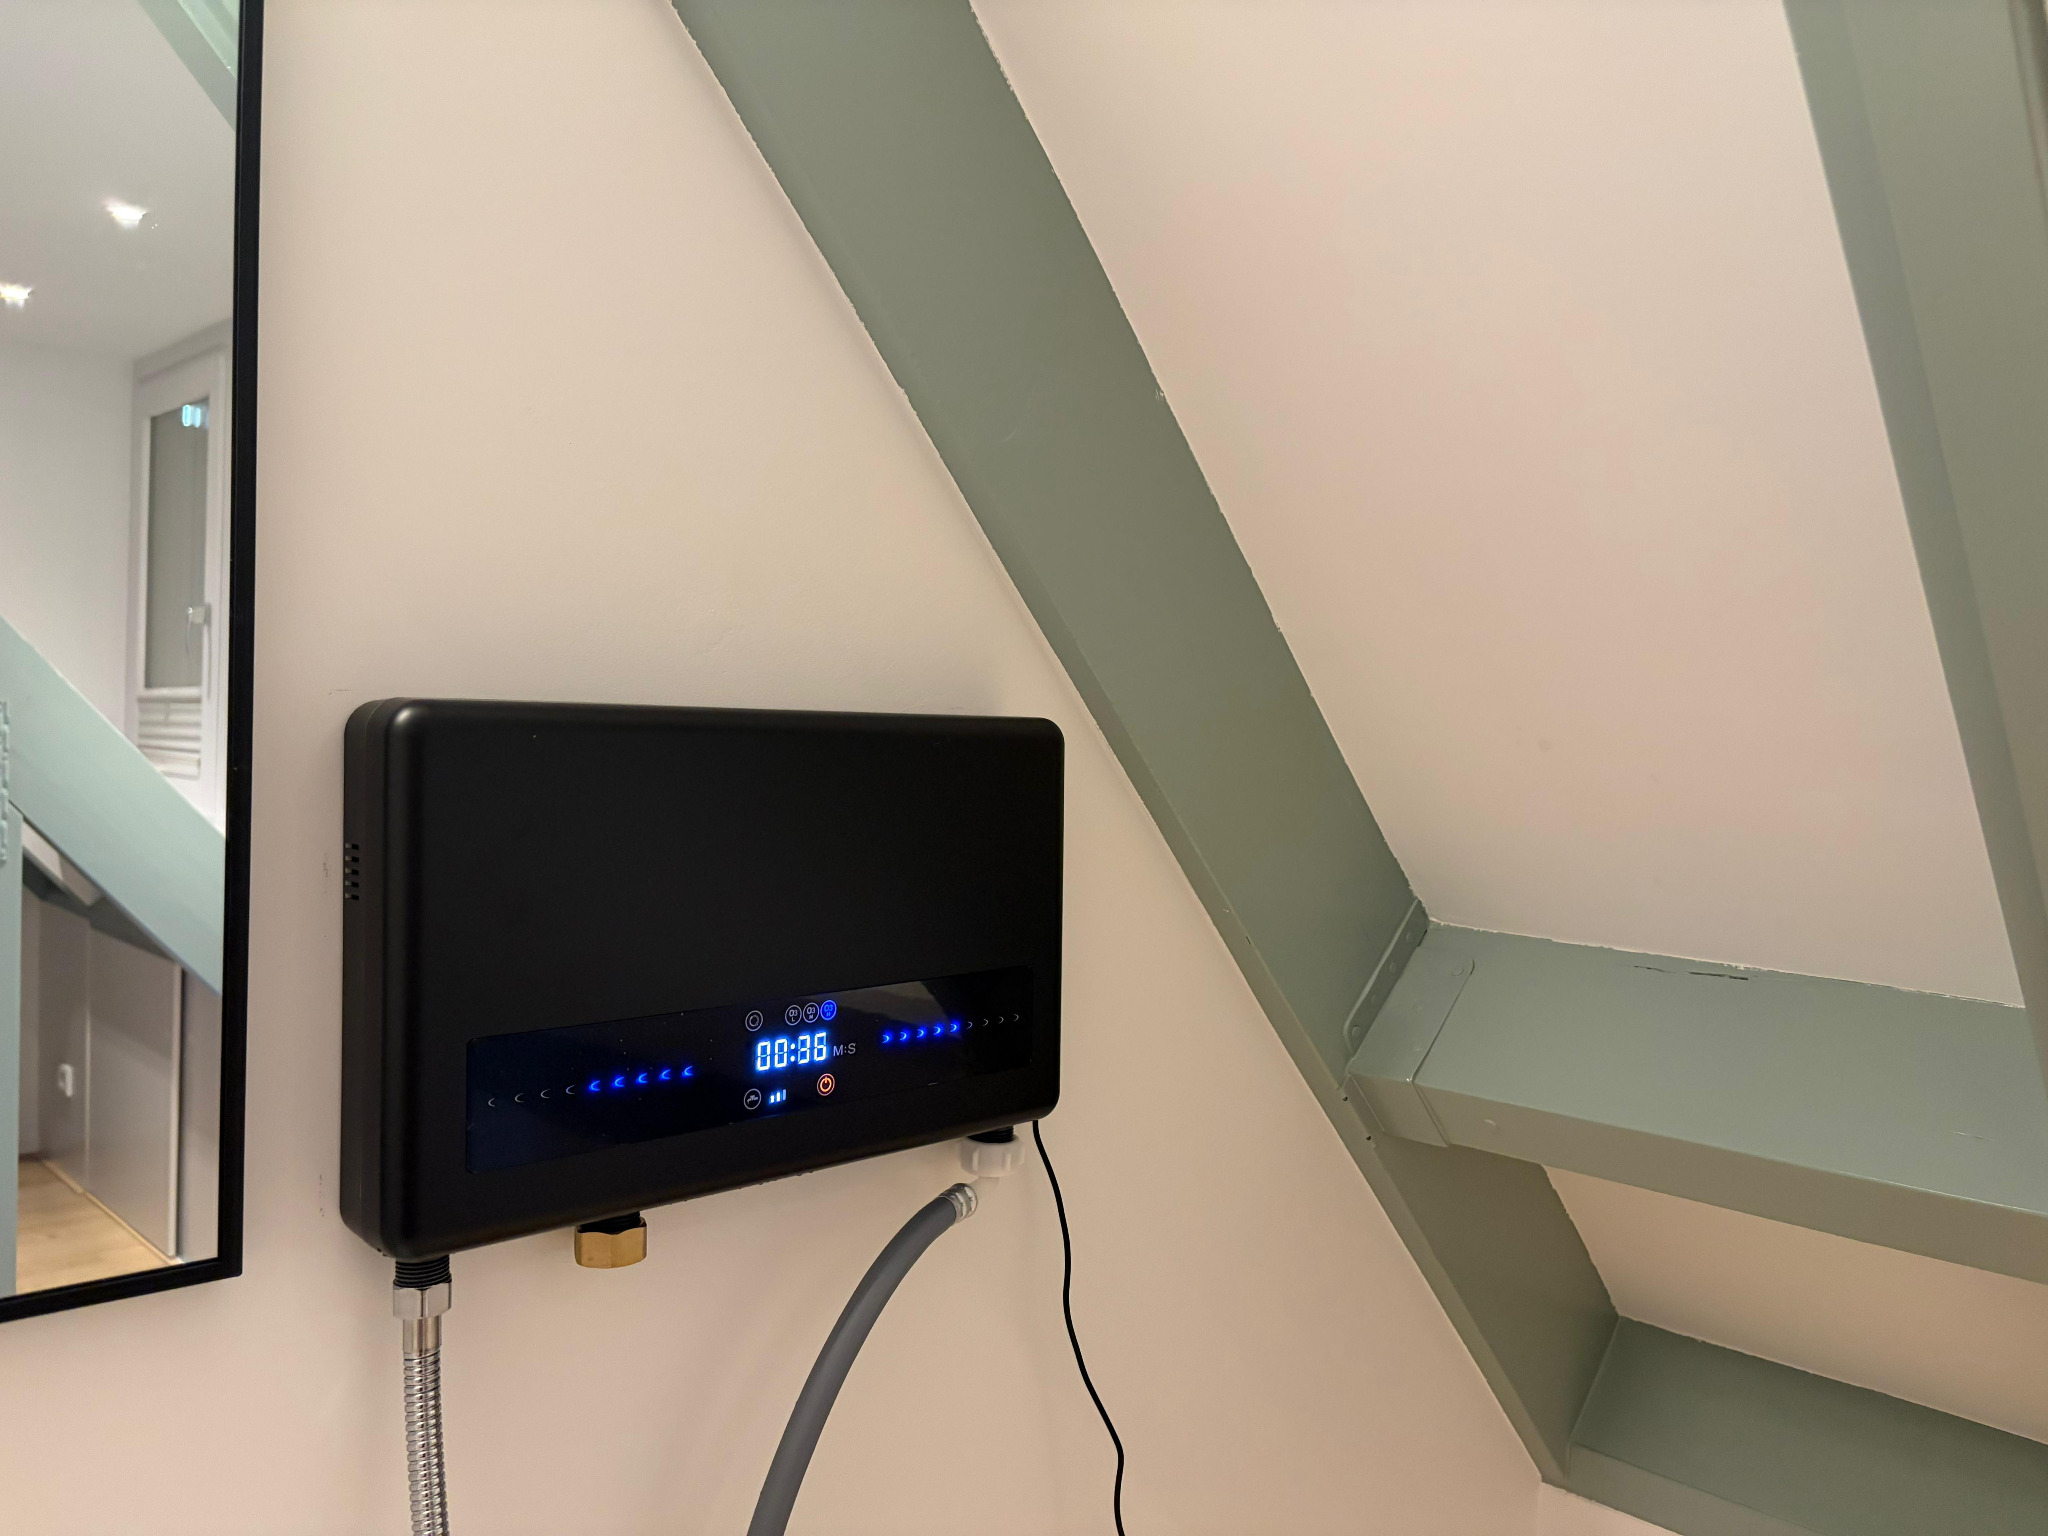
Black LYTO₃RA photographed from an angle in an actual installation, with its front controls and connections visible
LYTO₃RA shown installed. This listing is for the installation service.

At home with V&J · Netherlands only

Home installation.

A simpler start, at home.

Professional installation of your LYTO₃RA system at your home in the Netherlands. We install, connect and test your device so it is ready for you to use.

€ 89,00

VAT included

After purchase, we will contact you to arrange a suitable installation date.

Location
Netherlands only
Service
Installation, connection & testing
Appointment
Arranged after purchase

LYTO₃RA / Installation & first use

See the setup.
Explore every detail.

From the first fitting to everyday use. Watch the real moments, then take a closer look in 3D.

Demonstrations from real installations. For your own setup, follow the supplied manual and installer guidance.

The white collection5 films · Setup & first use
01 / In practice0:22
02 / A closer lookInteractive 3D

Your closer look awaits.

3D illustration · details simplified
LYTO₃RA / White

03 / 05First use

Explore the controls

An installed white unit, with a close-up of the illuminated front controls.

  • The unit is already connected in this demonstration.
  • The display and blue indicators illuminate.
  • A hand operates the controls on the front panel.

A little guidance

Let’s find your
next step.

Choose a question for useful pointers, the right film, or a way to reach us.

Ask V&J
I need help with the wall mounting

See the bracket and the mounting motion as two separate steps.

  1. Start with “Secure the bracket” to see its three fastening points. The bracket is already positioned at the start of the film.
  2. Then open “Mount the unit” to see the rear recess aligned with the tabs and the unit lowered into place.
  3. For wall suitability, fixings or a unit that does not sit securely, ask your installer before continuing. These films do not cover choosing anchors or drilling.
My display looks different

Compare your front panel with the real footage for your finish.

  1. The white controls film shows the illuminated display and a hand operating the front panel. The black film shows its blue indicator sequence.
  2. For an unexpected indication, check the indicator information in your supplied manual. The demonstration is not an error-code reference.
  3. If the indication remains unclear, send V&J a photo of the panel and describe what happened just before it appeared.
I need help with the handheld outlet

Review the lever movement and how the outlet is returned to its holder.

  1. In “Use the handheld outlet”, pressing the lever releases a visible stream into a bucket. The lever is then released and the outlet returned to the holder.
  2. For the bottle demonstration, open “Fill a spray bottle” to see the top removed and refitted around the filling step.
  3. If your installed unit does not dispense when used as described in its manual, ask your installer or V&J to check the setup. Include the display indication and what you observed.
The film or 3D view will not load

You can still use the guide without the interactive view.

  1. For a film that will not play, use “Open film” below the player to open the video directly, then press play.
  2. If the 3D view is unavailable, use the real films and “All films & written summaries” below the player. The summaries work without 3D.
  3. If the media still will not load, refresh the page and try another browser. Tell V&J which device, browser and film you were using if the problem continues.
Open all films & written summaries

All films & written summaries

White / Setup & first use

  1. Secure the bracket

    A close look at the three fastening points on the wall-mounted bracket.

    • The bracket is already positioned against the wall.
    • The right, centre and left fastening points are tightened.
    • Three upward tabs remain visible, ready to receive the unit.
    Watch film · 0:22
  2. Mount the unit

    See how the rear of the unit aligns with the bracket before it is lowered into place.

    • The rear mounting recess is shown beside the bracket.
    • The unit is brought into alignment with the mounting tabs.
    • The unit is lowered onto the bracket and released.
    Watch film · 0:11
  3. Explore the controls

    An installed white unit, with a close-up of the illuminated front controls.

    • The unit is already connected in this demonstration.
    • The display and blue indicators illuminate.
    • A hand operates the controls on the front panel.
    Watch film · 0:22
  4. Use the handheld outlet

    Watch the handheld outlet dispensing into a bucket, then returning to its holder.

    • The handheld outlet is held over a bucket.
    • Pressing its lever releases a visible stream of water.
    • The lever is released and the outlet is returned to the holder.
    Watch film · 0:23
  5. Fill a spray bottle

    A bottle-filling demonstration using the handheld outlet.

    • The bottle’s trigger-spray top is removed.
    • The handheld outlet is held at the open bottle neck while its lever is pressed.
    • The outlet is returned to its holder and the bottle’s trigger top is refitted.
    Watch film · 0:36

Black / Installed views

  1. Black finish in action

    A wide view of the installed black unit with its front display illuminated.

    • The black unit is shown already mounted and connected.
    • Blue indicators move across the front control panel.
    • The lower fittings and side power lead are visible.
    Watch film · 0:10
  2. A closer look

    A portrait view of the black finish, front controls and visible connections.

    • The camera frames the front and lower edge of the installed unit.
    • The display and blue indicator sequence are visible.
    • Rotate the 3D illustration to explore the exterior from another angle.
    Watch film · 0:11
A question about your setup?

The service

From setup
to ready to use.

A technician takes care of your installation and checks that the system works correctly before leaving.

  • Professional installationYour LYTO₃RA device installed at your home.
  • Water connectionYour device connected to the water supply.
  • An on-site checkThe connected system tested before the visit is complete.

How it works

Three steps.
A simpler beginning.

  1. Order the service

    Add home installation to your cart and complete your purchase.

  2. Arrange your visit

    We will contact you after purchase to agree on a suitable date.

  3. Get set up at home

    A technician installs, connects and tests your LYTO₃RA system.

Before you book

Your questions.
Clear answers.

Where is home installation available?

This service is available for customers in the Netherlands only.

How is the appointment arranged?

After your purchase, V&J will contact you to arrange a suitable installation date.

What does the technician do?

The technician installs your device, connects it to your water supply and tests that it works correctly before leaving.

Does this listing include the LYTO₃RA device?

This listing is for the home installation service. The LYTO₃RA system is a separate product. View the system ↗

What if I have questions about my setup?

Contact V&J before ordering to discuss your setup and the installation service. Contact V&J ↗

Reviews

There are no reviews yet.

Only logged in customers who have purchased this product may leave a review.

V&J Enterprise

V&J Enterprise

The LYTO₃RA film